Should I upgrade to Galaxy S25 ? In the ever-evolving world of flagship smartphones, Samsung’s latest Galaxy S25 has landed with some interesting features – but is it worth your hard-earned money?
While it boasts new hardware and Qi2-compatible accessories in a sleeker package, there are compelling reasons why this might not be the upgrade you’re looking for. Let’s dive into why the Galaxy S25 might be a pass this year, especially if you’re rocking a recent Android device.
Should I upgrade to Galaxy S25 : The Design Dilemma
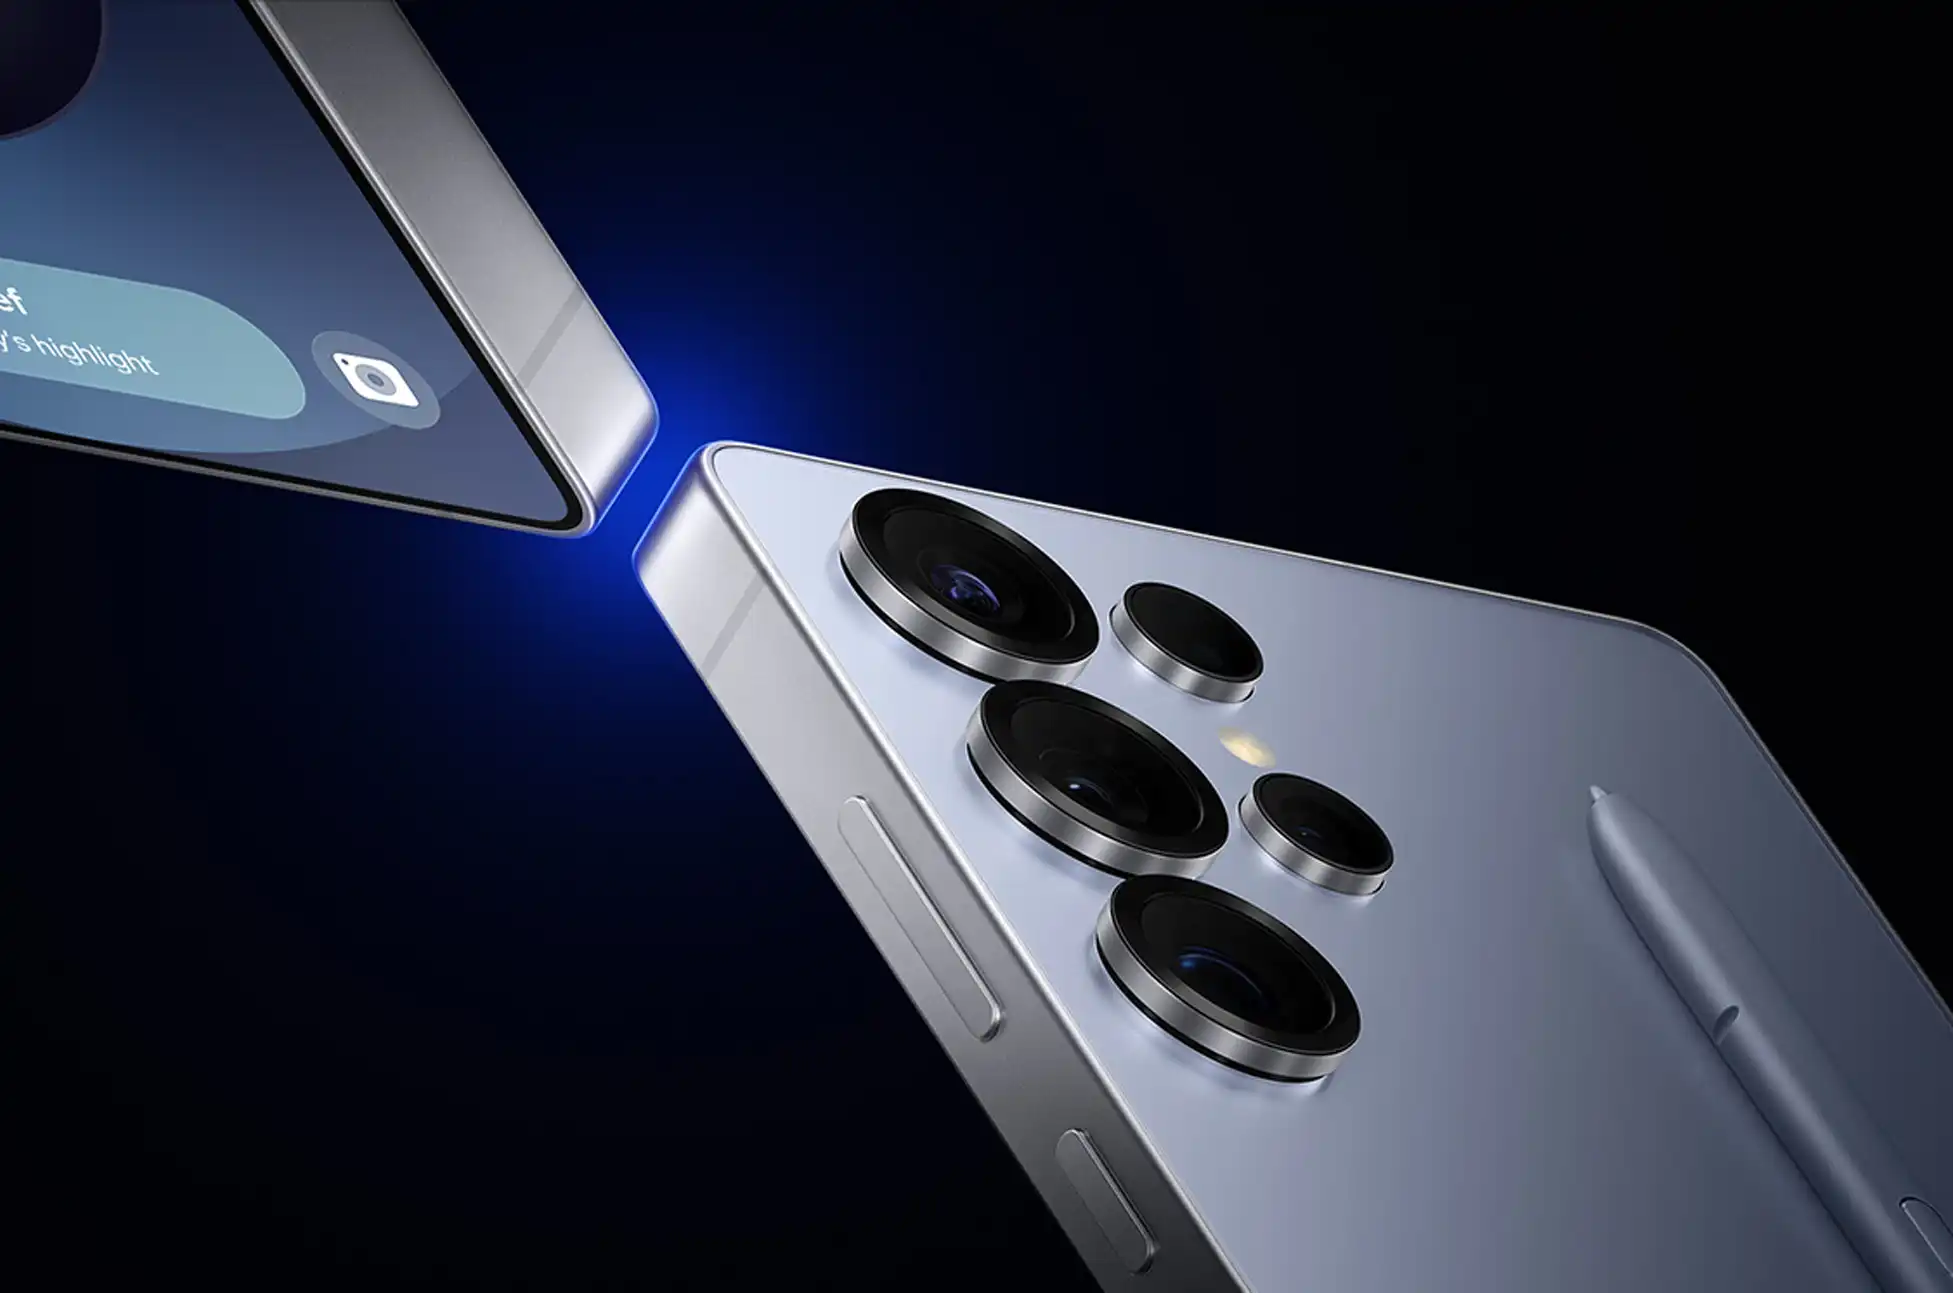
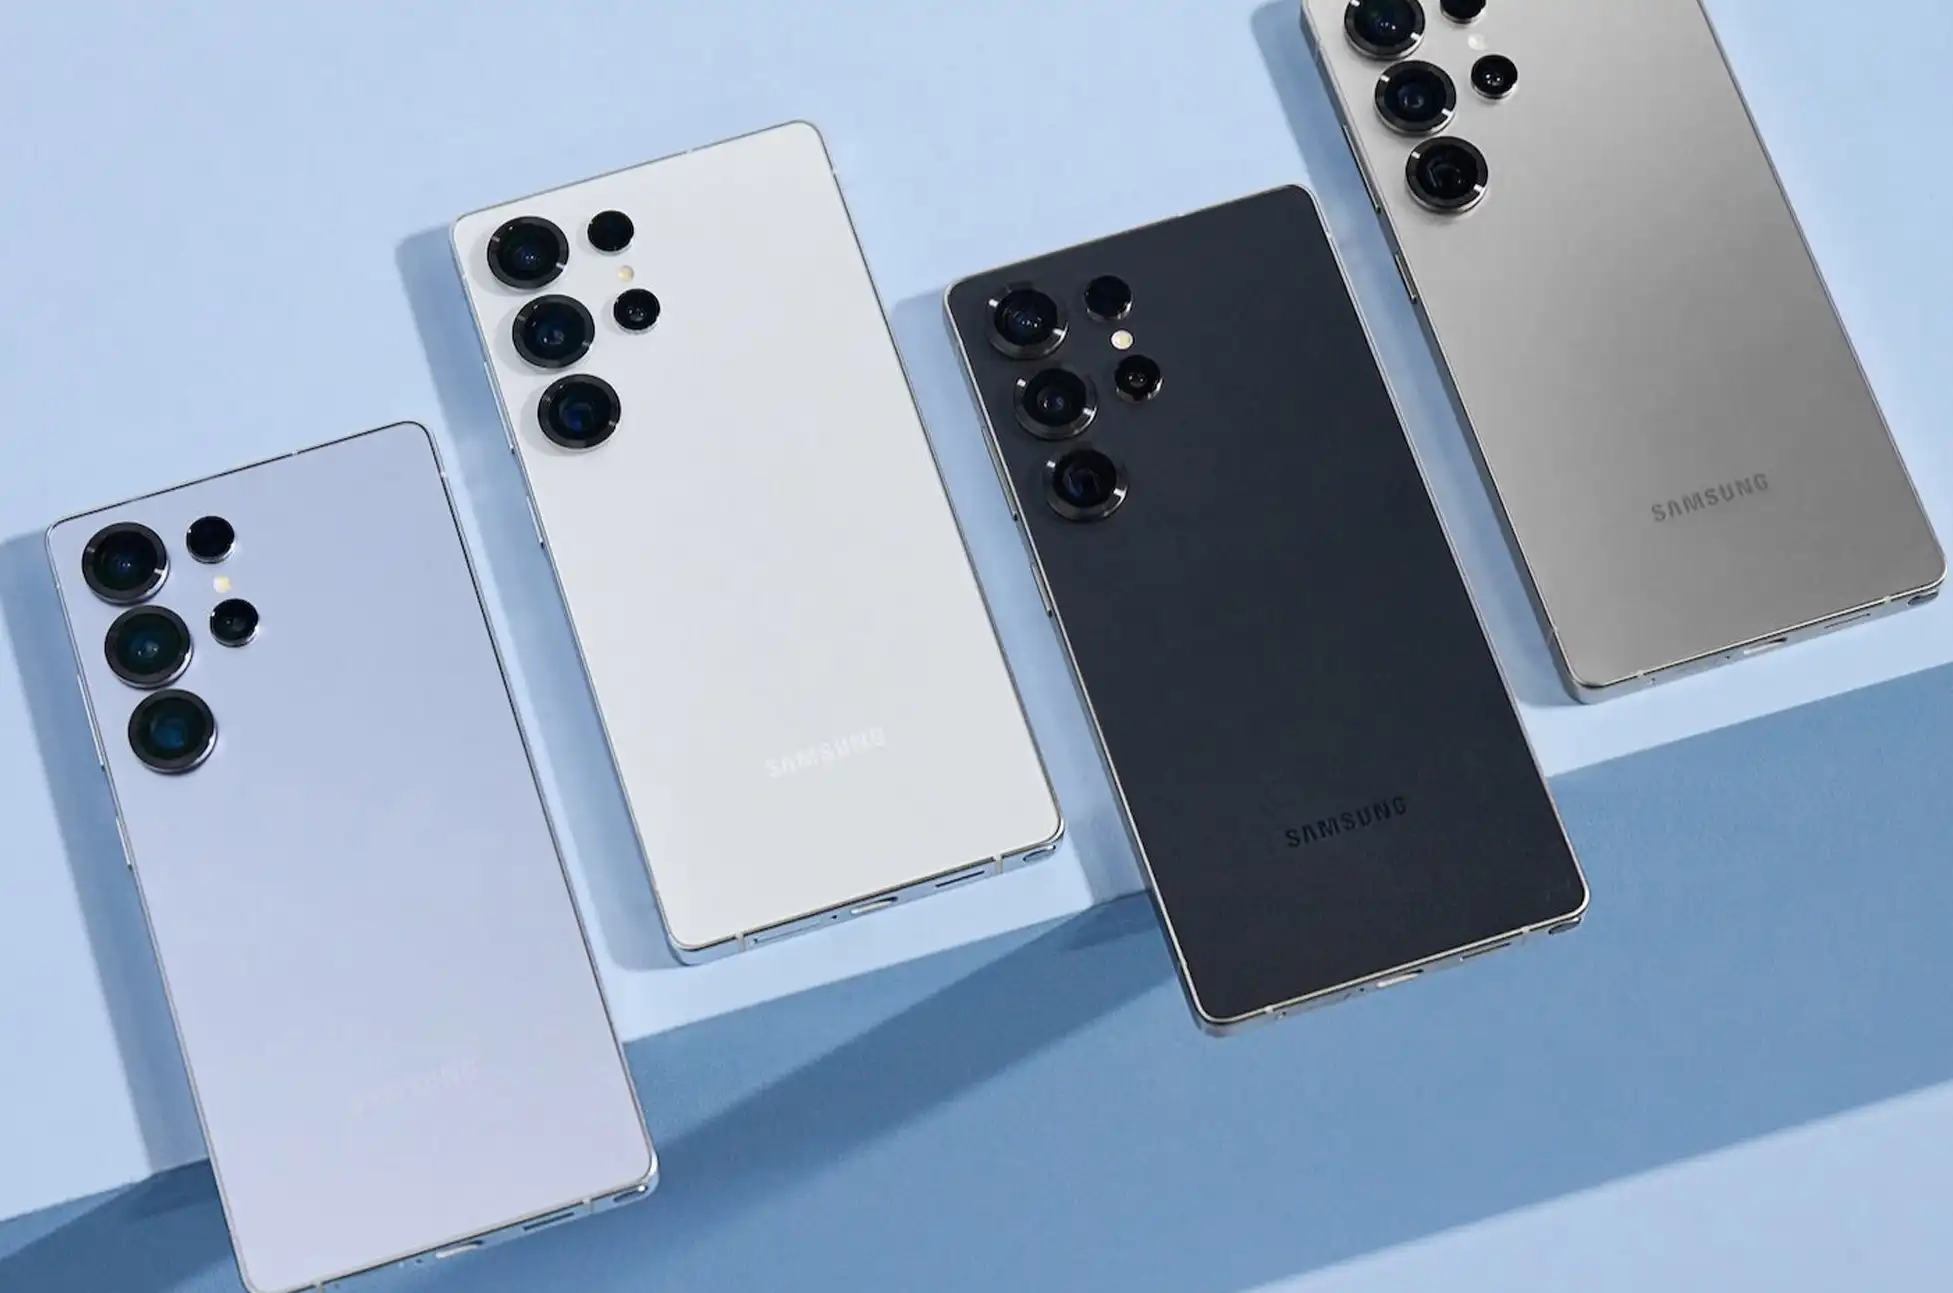
Remember when Samsung phones stood out in a crowd? Those days might be behind us. The Galaxy S25’s front view feels like déjà vu – it’s virtually indistinguishable from other recent smartphones. Even Apple’s iPhone 16 has adopted Samsung’s signature traffic light camera arrangement, making the Galaxy S25 lose its distinctive edge. For those seeking a unique aesthetic, brands like Google and OnePlus are currently offering more distinctive designs.
Camera System: Same Hardware, Different Year
Photography enthusiasts, take note: the Galaxy S25’s camera system is essentially a carbon copy of its predecessor. You’re looking at the same 50MP main sensor, 10MP telephoto lens, and 12MP front camera from the S24. While Samsung promises enhanced post-processing capabilities, persistent issues like motion blur remain unaddressed. If you’re coming from an S24 or S23, you won’t find any groundbreaking photography improvements here.
The Qi2 Conundrum: Almost There, But Not Quite
Wireless charging enthusiasts have been eagerly awaiting full Qi2 implementation on Android flagships. While the S25 offers “Qi2 Ready” accessories and improved wireless charging speeds, it stops short of full Qi2 integration. This half-measure feels particularly disappointing, especially since Samsung has apparently solved the S Pen interference issues that previously prevented magnetic charging implementation.
Should I upgrade to Galaxy S25 ? Battery and Charging
The 4,000mAh battery and 25W charging speeds remain unchanged from the S24. While the battery life isn’t bad – offering around nine hours of screen time with regular use – the charging speeds feel outdated compared to competitors like the OnePlus 12’s blazing 80W charging. In a world where fast charging is becoming increasingly important, Samsung seems content to maintain the status quo.
Value Proposition: The S24 Looks Better Than Ever
Here’s the kicker: most of the Galaxy S25’s exciting features are software-based, coming through One UI 7. Since this update is also heading to the S24 (which still has six years of updates ahead), last year’s model becomes increasingly attractive – especially with current discounts of up to $150 through major retailers.
Should I upgrade to Galaxy S25?
If you’re using a Galaxy S21 or older device, the S25 represents a notable upgrade in performance and features. However, current owners of recent Android phones might want to sit this generation out. The Google Pixel 9 and OnePlus 12 present compelling alternatives, or you might want to wait for the potentially more innovative Galaxy S26.
Key Takeaways:
Familiar design that lacks distinctiveness
Unchanged camera hardware from previous generation
Incomplete Qi2 wireless charging implementation
Conservative battery and charging capabilities
Better value in discounted S24 models
What are your thoughts on Samsung’s latest flagship? Are you planning to upgrade, wait for the S26, or explore other options? Share your perspective in the comments below.
All products, and company names, logos, and service marks (collectively the "Trademarks") displayed are registered® and/or unregistered
trademarks™ of their respective owners.
The authors of this web site are not sponsored by or affiliated with any of the third-party trade mark or third-party registered trade mark owners,
and make no representations about them, their owners, their products or services.
Are you tired of being stuck with a carrier that’s not meeting your needs? Whether you’re seeking better coverage, lower rates, or planning international travel, unlocking your phone could be your ticket to freedom. In this comprehensive guide, we’ll walk you through everything you need to know about liberating your device from carrier restrictions.
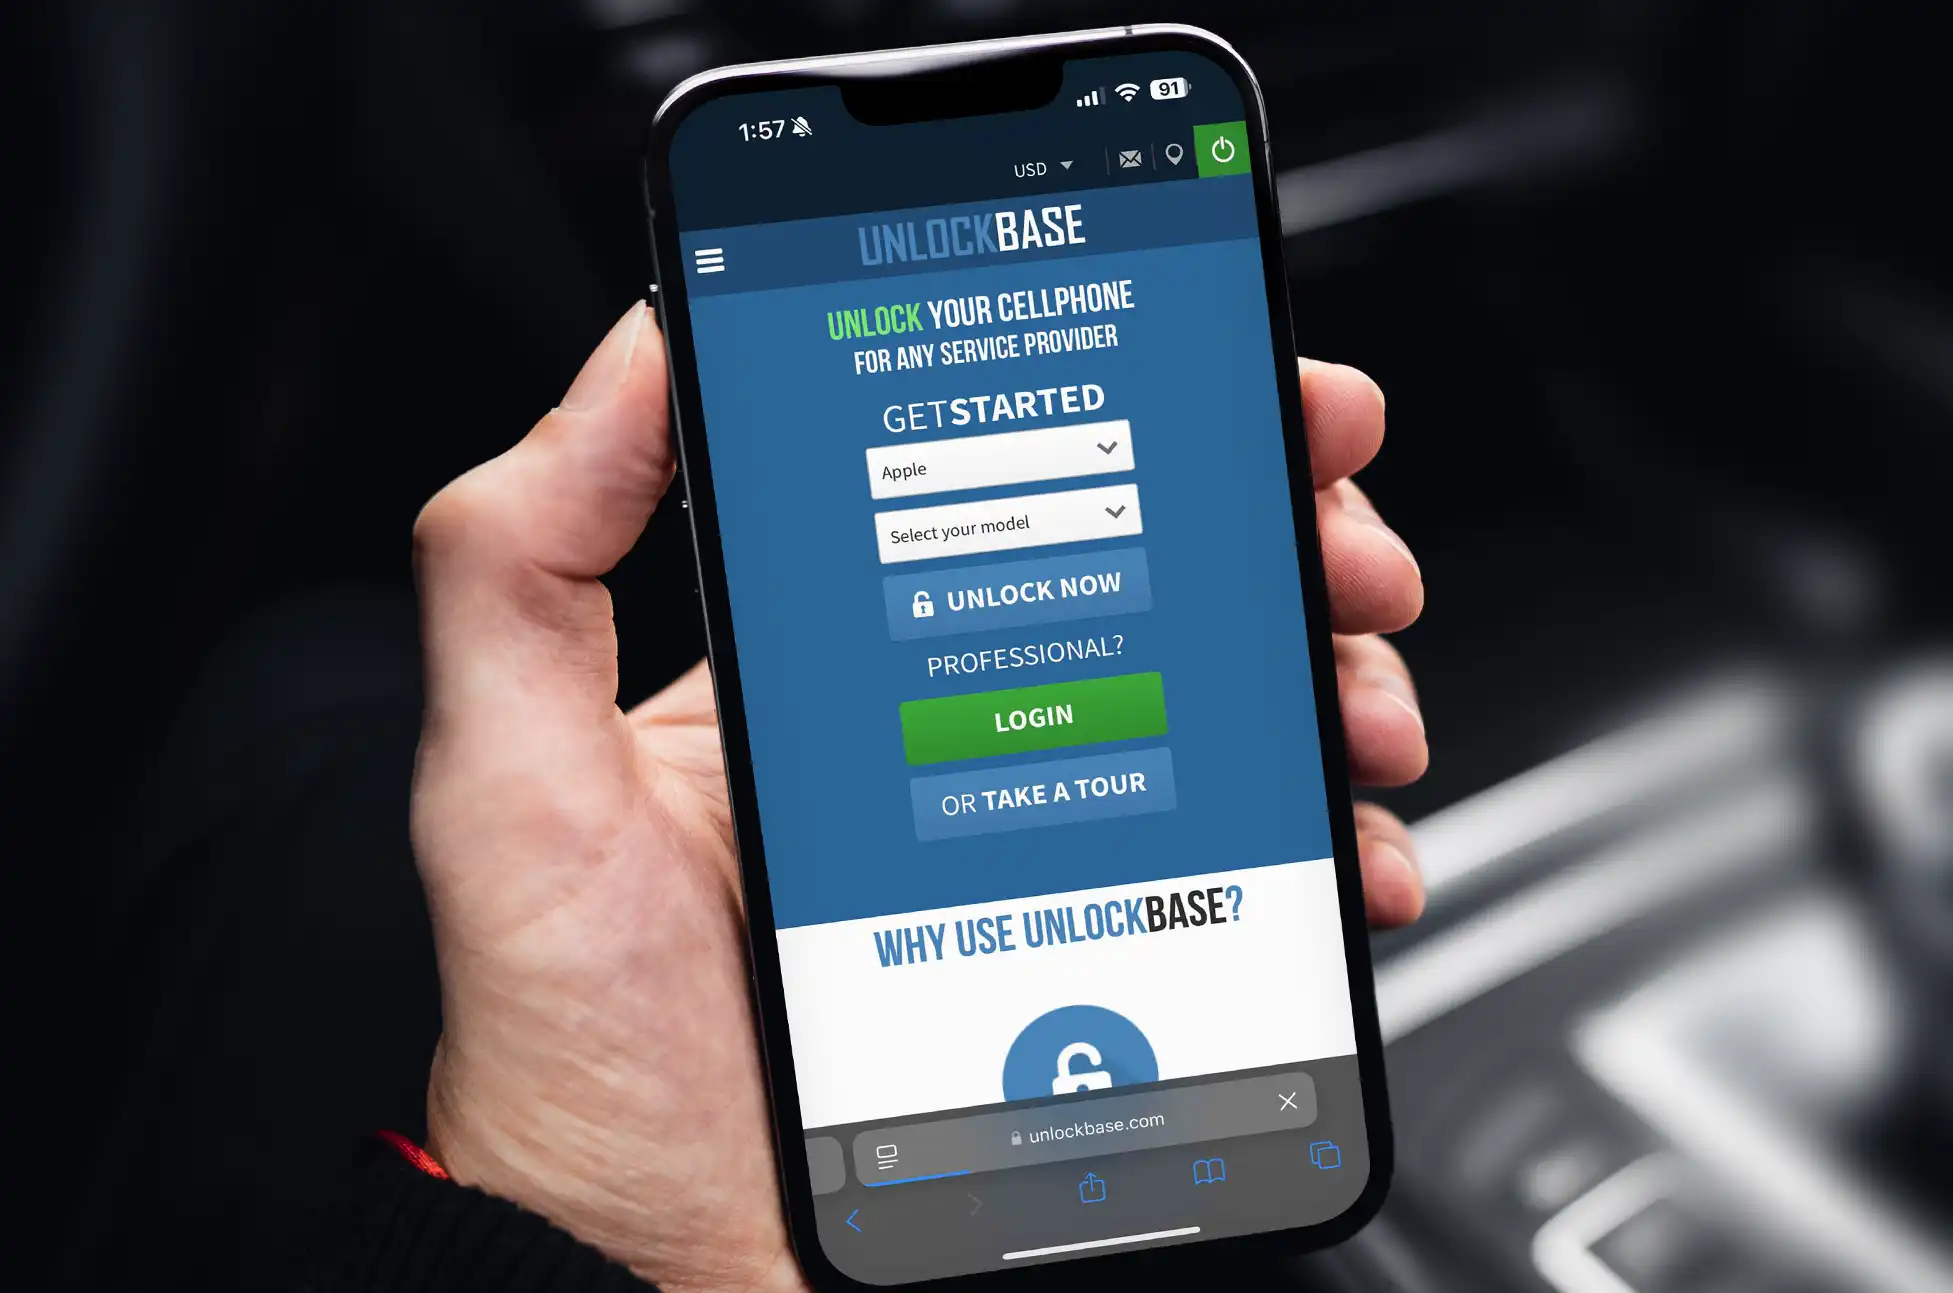
What Does “Unlocked Phone” Actually Mean?
An unlocked phone isn’t tied to a specific carrier, giving you the freedom to use it with any compatible network. UnlockBase makes this process simple and secure.
How to Check if Your Phone is Already Unlocked
Insert a SIM card from another carrier
Try making a call
If it works, your phone is unlocked
Benefits of Switching Carriers : Freedom to Choose Your Path
Ready to break free from carrier restrictions? Here’s why unlocking your phone is a game-changer:
Cost Savings That Matter
Switch to budget-friendly carriers
Take advantage of competitive deals and promotions
Avoid expensive international roaming fees
Higher resale value for unlocked phones
Travel Without Boundaries
Use local SIM cards worldwide
Avoid costly roaming charges
Stay connected in 190+ countries
Access cheaper data plans abroad
Network Freedom
Switch carriers without buying a new phone
Test different networks for best coverage
Mix and match family plans
Easy transition between prepaid and postpaid plans
Future-Proof Your Device
Upgrade plans without phone restrictions
Switch carriers during price hikes
Take advantage of new 5G networks
Keep your phone when moving locations
Network Compatibility Guide
Before switching carriers, ensure your phone supports the new network’s bands. UnlockBase’s customer support can help verify compatibility before processing your unlock request.
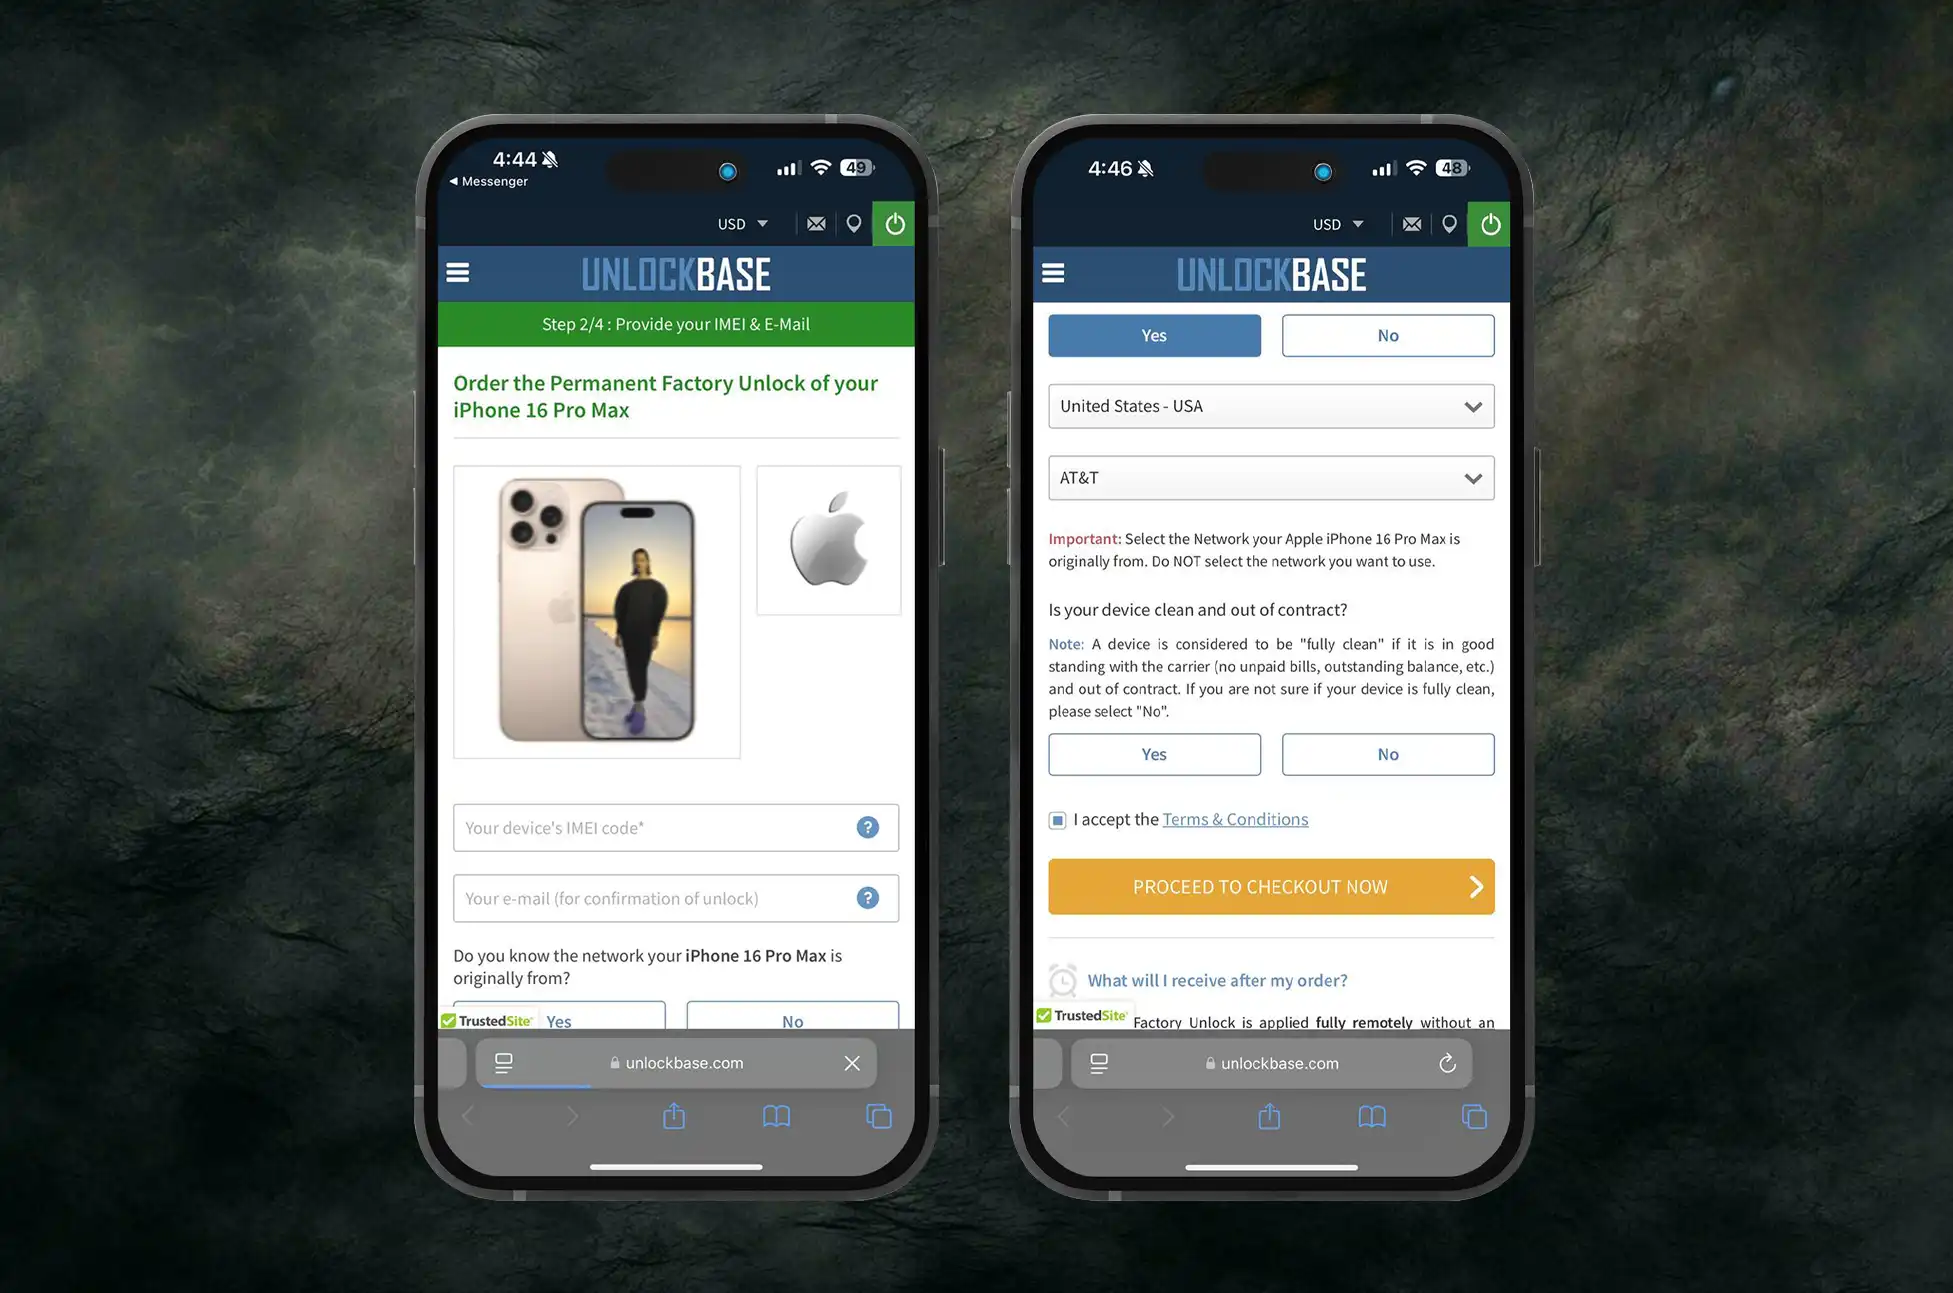
Choose the country and network your phone is locked to.
Confirm your payment and wait for an email with the unlock code.
Making the Switch: Step-by-Step with UnlockBase
Back up your data
Enter the provided unlock code
Insert new carrier’s SIM
Follow activation instructions
Pro Tips for a Smooth Transition
Use UnlockBase’s IMEI checker tool before purchasing
Keep your old SIM until the new one is activated
Take advantage of UnlockBase’s 24/7 support
Why Choose UnlockBase?
Millions of successful unlocks
Secure payment processing
Expert technical support
Guaranteed results
Switching Carriers : Conclusion
Unlocking your phone through UnlockBase provides a safe, reliable way to switch carriers. Their proven track record and comprehensive support make the process straightforward and worry-free.
All products, and company names, logos, and service marks (collectively the "Trademarks") displayed are registered® and/or unregistered
trademarks™ of their respective owners.
The authors of this web site are not sponsored by or affiliated with any of the third-party trade mark or third-party registered trade mark owners,
and make no representations about them, their owners, their products or services.
Steps to Prepare for International Travel ? Planning your holiday getaway? While you’re busy coordinating flights and accommodations, don’t forget about your most essential travel companion – your smartphone.
Having a fully prepared phone can make the difference between a smooth adventure and unnecessary headaches abroad. Let’s dive into everything you need to know about getting your device ready for international adventures.
Why Your Phone Needs Special Preparation for International Travel
International travel puts unique demands on your smartphone. From navigating foreign cities to staying connected with loved ones back home, your phone becomes your lifeline. But without proper preparation, you might face expensive roaming charges, connectivity issues, or even complete inability to use local networks.
Essential Steps to Prepare Your Phone for International Travel
1. Unlock Your Phone: Your Gateway to Global Connectivity
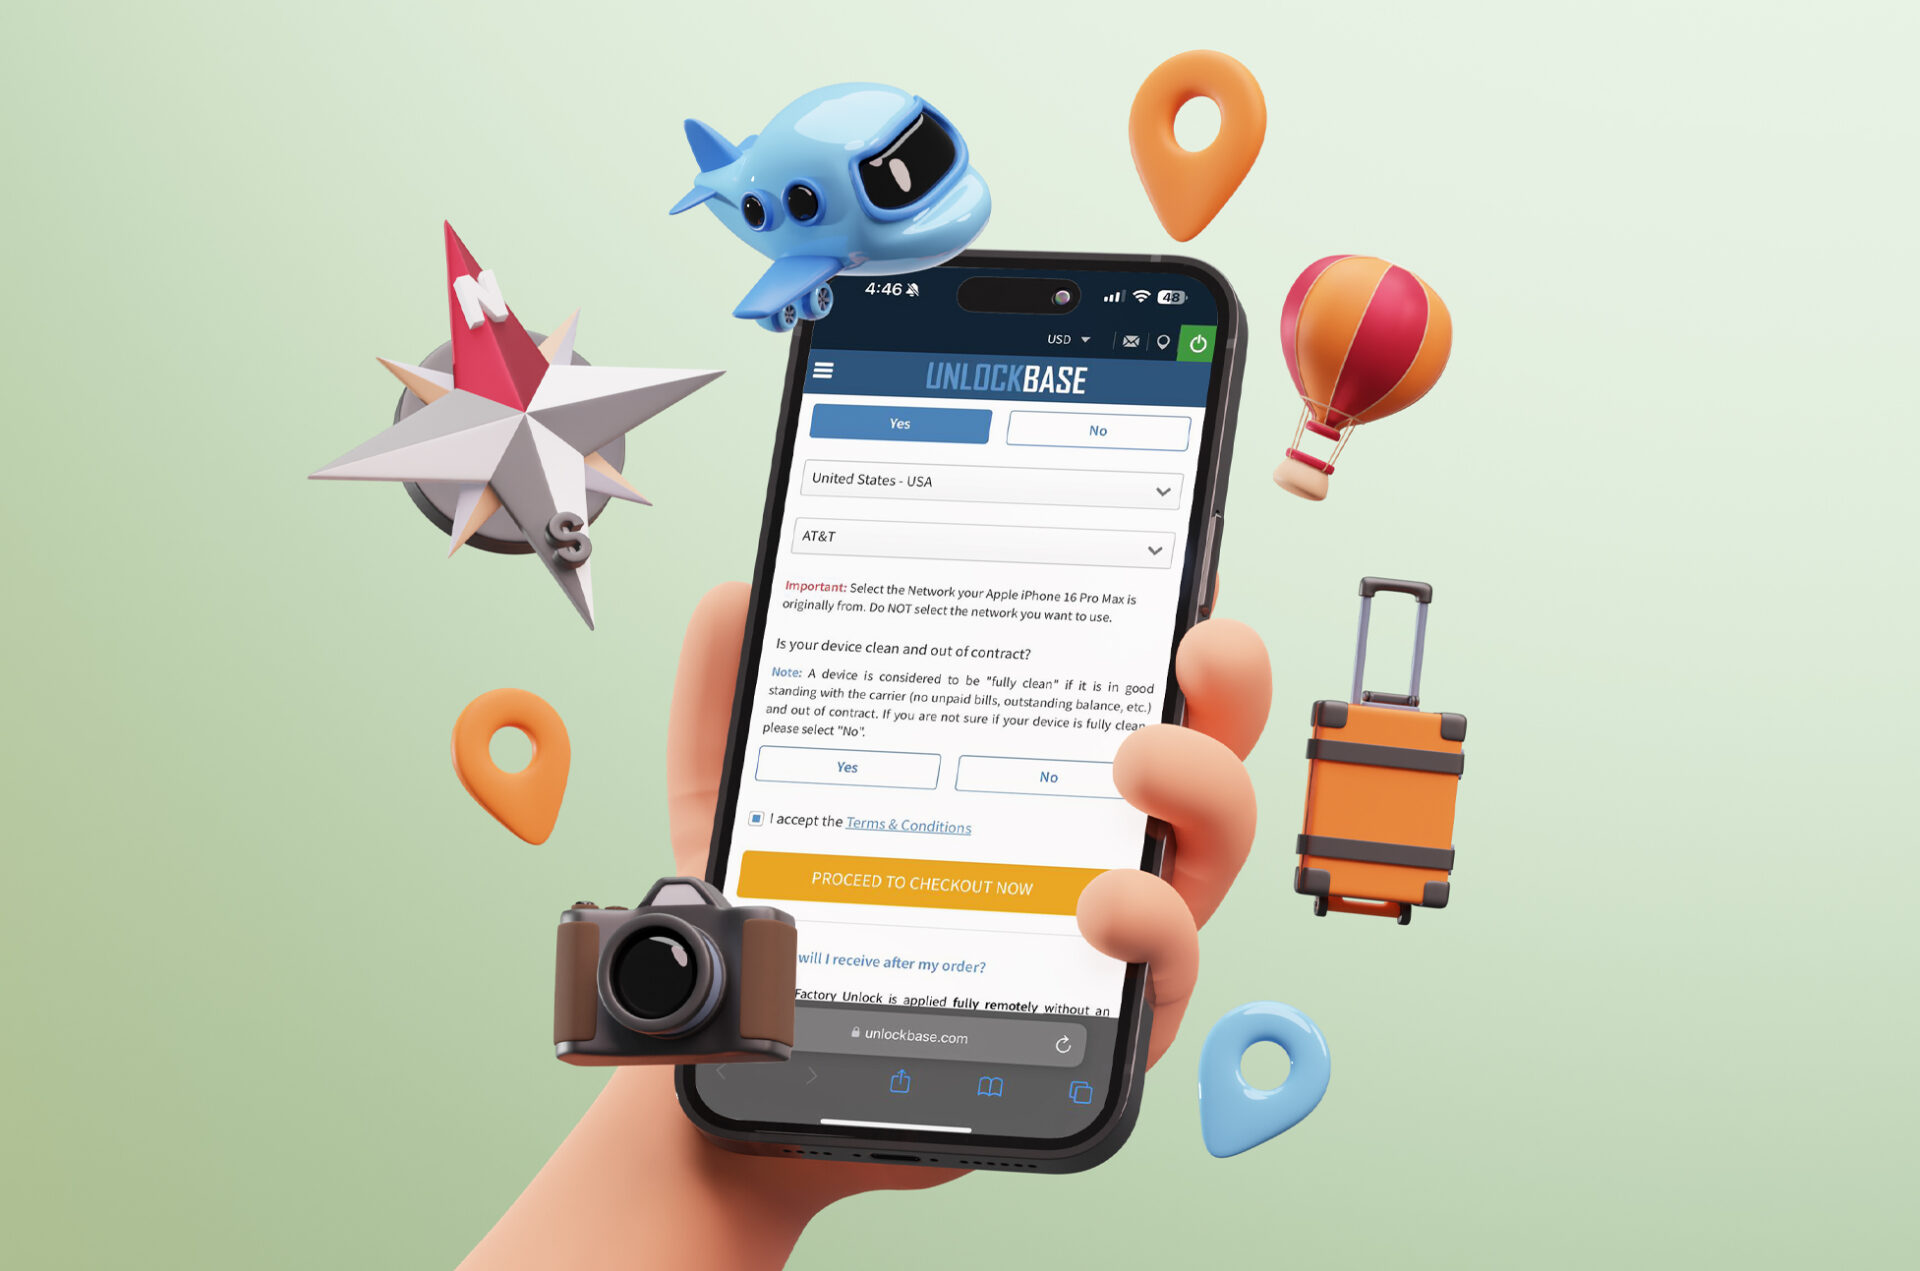
One of the most crucial steps in preparing your phone for international travel is ensuring it’s carrier-unlocked. Many phones come locked to specific carriers, which can prevent you from using local SIM cards abroad.
UnlockBase offers a reliable, fast, and secure solution for unlocking your device. Their service supports phones from virtually every manufacturer and carrier, making it an excellent choice for travelers.
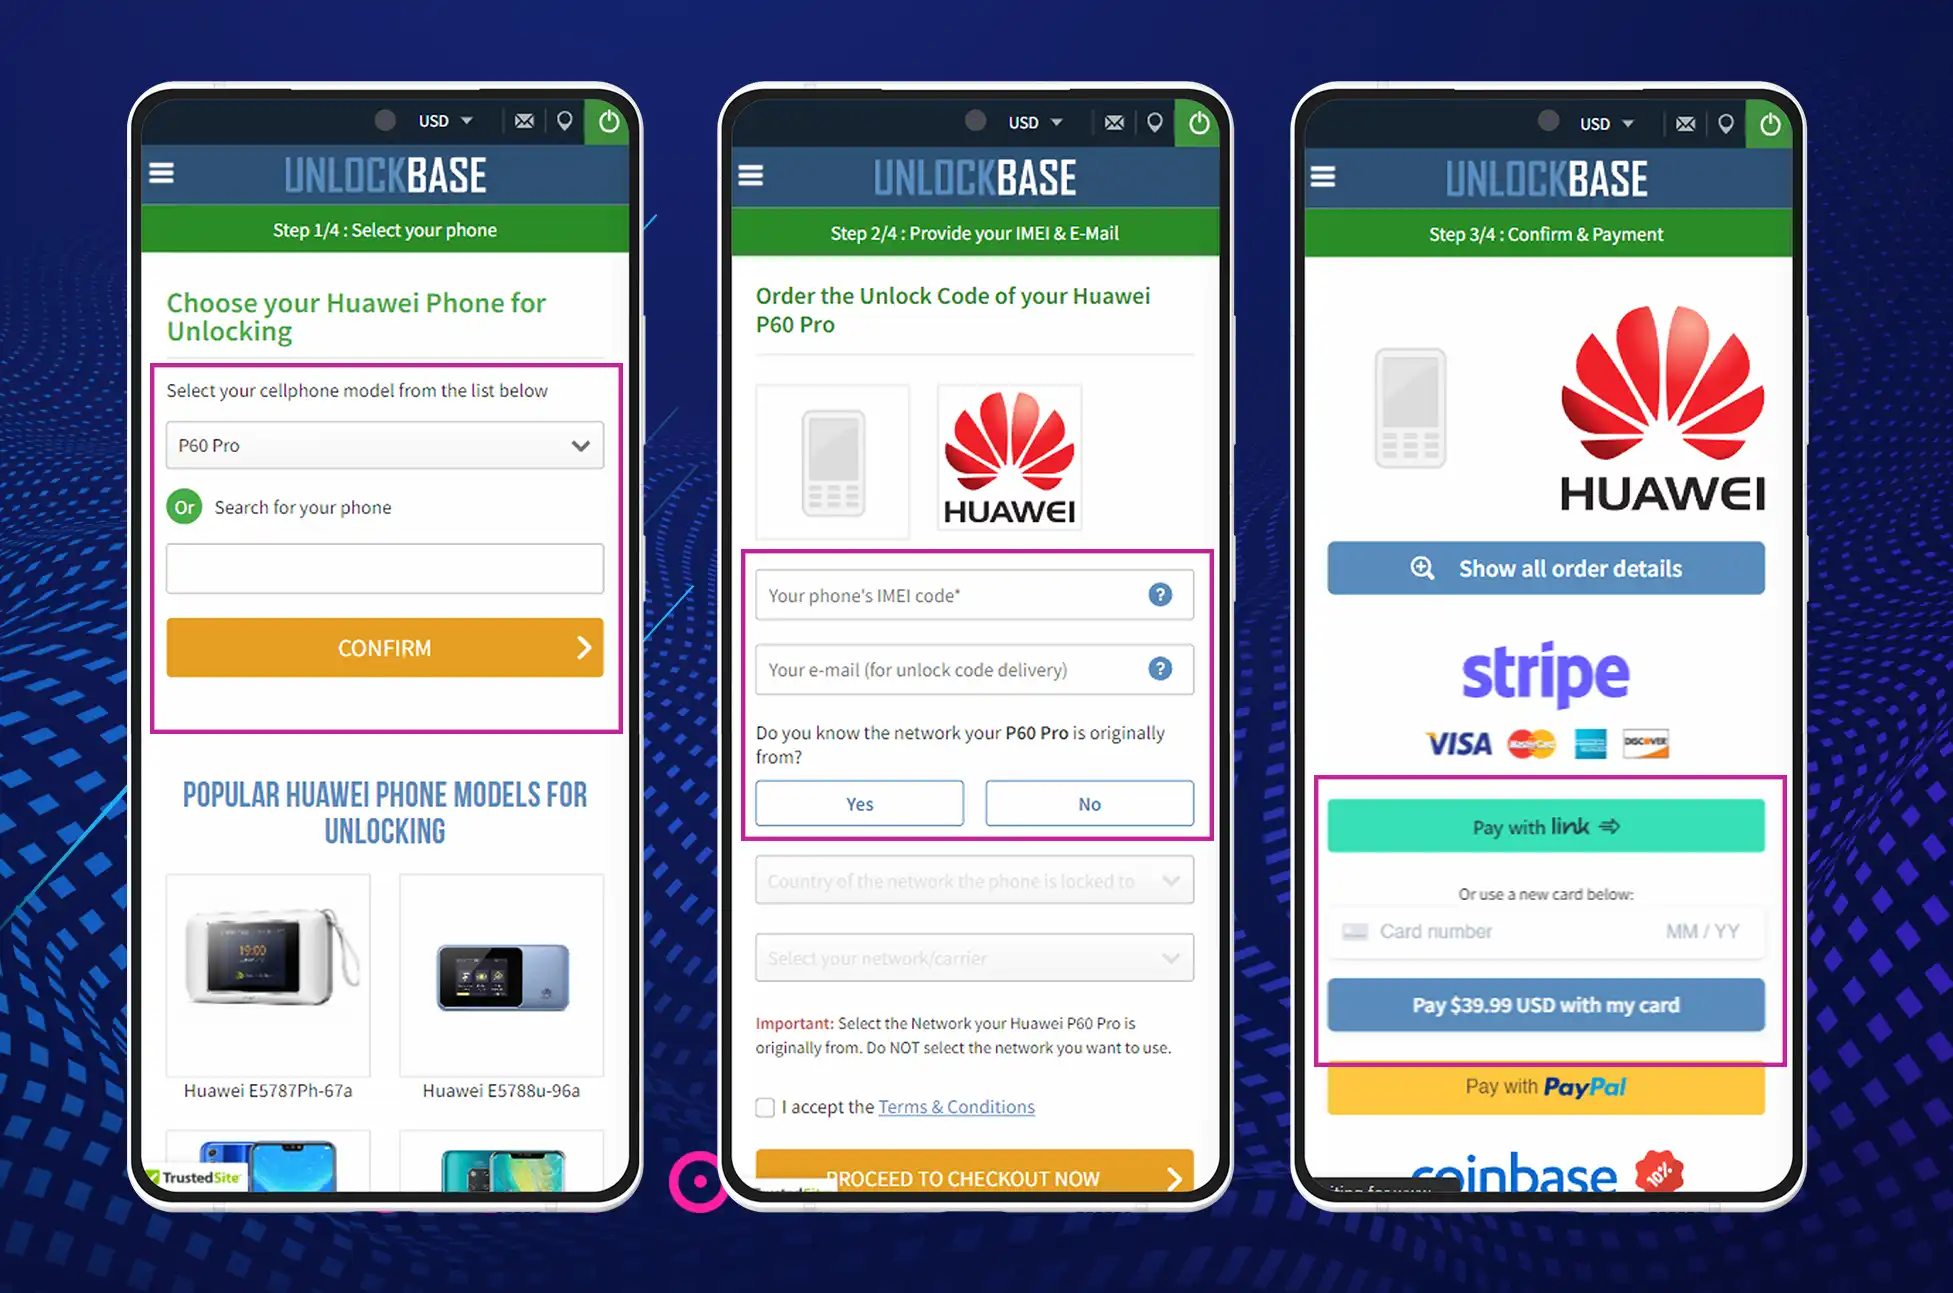
The unlocking process through UnlockBase is straightforward:
Follow the simple instructions to unlock your device
Test your phone with a different carrier’s SIM card
Remember, unlocking your phone legally through trusted services like UnlockBase preserves your warranty and ensures your device’s security.
2. Download Essential Travel Apps Beforehand
Before departing, download and set up crucial travel apps:
Offline maps (Google Maps offline areas or Maps.me)
Language translation apps with offline capabilities
Your airline’s mobile app
Local transportation apps for your destination
Travel insurance apps
3. Boost Your Phone’s Security
International travel can expose your device to new security risks. Implement these security measures:
Enable two-factor authentication on all important accounts
Set up a secure VPN for public Wi-Fi usage
Update your phone’s operating system and all apps
Create secure backup of your important data
Set up Find My Phone features
4. Optimize Your Storage Space
Clear unnecessary files and optimize your storage:
Remove unused apps and media
Back up photos and videos to cloud storage
Download offline content for entertainment
Clear app caches and temporary files
5. Power Preparation
Different countries use different power standards. Prepare by:
Purchasing a universal power adapter
Getting a reliable portable power bank
Testing all charging equipment before departure
Considering a backup charging cable
Steps to Prepare for International Travel : Money-Saving Tips for Phone Usage Abroad
Understanding your options for staying connected can save you significant money:
Research international data plans from your home carrier
Compare local SIM card options at your destination
Consider eSIM services for flexible data plans
Use Wi-Fi calling features when available
Final Pre-Trip Phone Checklist
Before you board your flight:
Confirm your phone is successfully unlocked
Test your VPN connection
Verify all essential apps work offline
Double-check your backup is complete
Write down important emergency numbers
Steps to Prepare for International Travel : Conclusion
A well-prepared phone enhances your travel experience and provides peace of mind during your international adventures. By following these steps, particularly ensuring your phone is properly unlocked through a reliable service like UnlockBase, you’ll be ready to explore the world while staying connected, secure, and worry-free.
Happy travels! 🌎✈️📱
All products, and company names, logos, and service marks (collectively the "Trademarks") displayed are registered® and/or unregistered
trademarks™ of their respective owners.
The authors of this web site are not sponsored by or affiliated with any of the third-party trade mark or third-party registered trade mark owners,
and make no representations about them, their owners, their products or services.
Hidden Phone Bill Fees ? In the world of mobile carriers, there’s a sneaky game being played—and you might be losing without even knowing it. Mobile providers have become masters of the subtle price increase, turning your monthly bill into a financial maze that’s designed to confuse and extract more money from your pocket.
Hidden Phone Bill Fees: How Carriers Are Padding Their Profits
Over the past few years, mobile carriers have perfected a crafty strategy of increasing costs without drawing too much attention:
Gradually scaling back customer perks
Introducing mysterious “recovery” and “regulatory” fees
Burying price increases in the tiniest print possible
Take T-Mobile’s Regulatory Programs and Telco Recovery Fee (RPTR Fee) as a prime example. This charge appears almost like a magic trick—now you see it, now you don’t—often increasing without any fanfare or clear notification.
Hidden Phone Bill Fees: What You’re Missing Could Cost You
Unlike major plan changes that come with prominent email alerts, these hidden fees slip through unnoticed. Just ask the Reddit community, where frustrated customers share stories of unexpected bill increases. One AT&T Fiber customer was stunned to find a sudden $5 bump—all perfectly “legal” because it was technically mentioned in the fine print.
Real-World Examples of Carrier Fee Shenanigans
Verizon: Increased its Administrative and Telco Recovery Charge, hiding the change on a single page at the end of the bill
Previously faced a $100 million lawsuit over deceptive practices
Continues to charge fees even after legal settlements
T-Mobile: Currently battling its own lawsuit over questionable fee structures
The Carrier Defense: Necessity or Pure Profit?
Carriers claim these fees are essential for infrastructure and operational costs. But let’s be real—would you accept a grocery store adding a random “keeping-the-lights-on” fee at checkout? Sounds ridiculous, right?
Your Action Plan: Protect Your Wallet
What You Can Do:
Scrutinize every line of your monthly bill
Question unexpected charges
Consider shopping around for more transparent carriers
Share your experiences to raise awareness
Unlock your phone to give yourself the freedom to switch between different carriers
These hidden fees aren’t just an inconvenience—they’re a calculated strategy to increase your monthly expenses without transparent communication. Stay vigilant, read the fine print, and don’t let carriers play games with your hard-earned money.
Pro Tip: Set a monthly reminder to thoroughly review your phone bill. Your wallet will thank you.
All products, and company names, logos, and service marks (collectively the "Trademarks") displayed are registered® and/or unregistered
trademarks™ of their respective owners.
The authors of this web site are not sponsored by or affiliated with any of the third-party trade mark or third-party registered trade mark owners,
and make no representations about them, their owners, their products or services.
Resell Phones for Profit? The world of technology moves fast, and with it comes an incredible opportunity: phone flipping. Imagine turning your tech knowledge into a steady stream of extra income, all by understanding the hidden value in smartphones.
The Smartphone Resale Market
Every year, millions of smartphones are discarded, traded, or replaced. What most people see as outdated technology, savvy entrepreneurs recognize as a potential cash opportunity.
The global used smartphone market is projected to reach $65 billion by 2025, and smart individuals are positioning themselves to capture a piece of this lucrative pie.
Resell Phones for Profit : Understanding the Phone Flipping Ecosystem
Phone flipping isn’t about luck—it’s about strategy. Successful phone resellers develop a keen eye for value, understanding market trends, device conditions, and the nuanced world of smartphone pricing.
Where to Find Your Inventory
Finding the right phones requires a multi-channel approach. Online marketplaces like eBay and Swappa offer nationwide opportunities, while local platforms such as Facebook Marketplace and Craigslist provide more immediate, lower-competition options.
Pawn shops, trade-in programs, and local buy/sell groups can also be treasure troves for undervalued devices.
The Unlock Advantage
An unlocked phone isn’t just a device—it’s a passport to a broader market. By removing carrier restrictions, you exponentially increase the potential buyer pool. Unlocking services range from carrier-direct methods to third-party platforms, each with its own cost and complexity.
You go to this unlock on how to unlock your phone!
Successful phone flipping hinges on understanding market dynamics. Current smartphone values fluctuate based on model, condition, and market demand. A systematic approach involves:
Researching current market rates
Calculating total investment (purchase price, unlocking fees)
Determining a competitive yet profitable selling price
Accounting for platform fees and potential shipping costs
Resell Phones for Profit : Selling Strategies for Maximum Returns
Different platforms attract different buyers. eBay offers national reach but comes with higher fees. Facebook Marketplace provides local, immediate sales with lower transaction costs. Specialized platforms like Swappa cater to tech-savvy buyers who understand device value.
Technical Preparation: Adding Value to Your Inventory
Before listing, every phone should be:
Factory reset
Thoroughly cleaned
Checked for functional integrity
Updated to latest software
Accompanied by original accessories when possible
Potential Earnings and Realistic Expectations
Phone flipping isn’t a get-rich-quick scheme. Earnings vary widely:
Beginners: $50-$200 per phone
Experienced flippers: $500-$2000 monthly
Top performers: Up to $5000 monthly
Legal and Ethical Considerations
Always verify a phone’s IMEI status to ensure it’s not stolen. Comply with local resale regulations and maintain transparency about device condition.
Resell Phones for Profit : Your Phone Flipping Journey Begins
Success in phone reselling comes from continuous learning, adaptability, and a genuine understanding of smartphone technology. Start small, reinvest your profits, and gradually build your expertise.
Remember: Every smartphone has a story—and potentially, a profitable future.
All products, and company names, logos, and service marks (collectively the "Trademarks") displayed are registered® and/or unregistered
trademarks™ of their respective owners.
The authors of this web site are not sponsored by or affiliated with any of the third-party trade mark or third-party registered trade mark owners,
and make no representations about them, their owners, their products or services.
Phone Unlocking Myths? Have you ever wondered about unlocking your phone but felt hesitant due to conflicting information online? You’re not alone.
Let’s clear the air and debunk some of the most persistent myths about phone unlocking that keep circulating on the internet.
Phone Unlocking Myths : “Phone Unlocking Will Void My Warranty”
One of the most common fears about phone unlocking is that it will immediately void your warranty. Here’s the truth: unlocking your phone through official channels or authorized services won’t void your manufacturer’s warranty.
The key is using legitimate unlocking methods provided by your carrier or certified unlocking services. Your warranty only becomes at risk when you attempt unauthorized modifications or hacking of your device.
“Unlocking and Jailbreaking Are the Same Thing”
This is perhaps the most widespread misconception in the mobile world. Unlocking your phone simply means enabling it to work with different carrier networks.
Jailbreaking, on the other hand, involves modifying your device’s operating system to bypass manufacturer restrictions. They’re completely different processes with different purposes and risks. While unlocking is perfectly legal, jailbreaking may void your warranty and potentially compromise your device’s security.
“Unlocked Phones Don’t Get Network Updates”
Many people believe that unlocking their phone will cut them off from important network updates. This couldn’t be further from the truth.
An unlocked phone will continue to receive all necessary carrier updates when connected to a network. In fact, many unlocked phones receive updates directly from the manufacturer, which can sometimes mean faster access to new features and security patches.
“All Free Unlock Codes Are Scams”
While it’s true that you should be cautious about free unlock codes, not all of them are scams. Some carriers will provide unlock codes for free once you’ve met certain conditions, such as completing your contract or paying off your device.
However, it’s essential to obtain these codes directly from your carrier or trusted unlocking services rather than random websites promising “free” solutions.
“Unlocking Will Damage My Phone”
This fear keeps many people from unlocking their devices. The reality is that proper unlocking is a software-level change that doesn’t affect your phone’s hardware in any way. When done correctly through legitimate channels, unlocking is completely safe and won’t cause any damage to your device.
The problems only arise when people attempt unsafe unlocking methods or fall for scam services.
“Once Unlocked, My Phone Will Work With Any Carrier”
While unlocking your phone does give you more carrier options, it doesn’t guarantee compatibility with every network. Your phone needs to be technically compatible with a carrier’s network bands and technologies.
For example, a CDMA phone might not work on a GSM network even after unlocking. Always check your phone’s technical specifications and carrier compatibility before unlocking.
“Unlocking Will Delete All My Data”
This is another myth that causes unnecessary worry. Unlocking your phone doesn’t affect your personal data in any way. Your photos, contacts, apps, and other personal information remain exactly as they were before the unlock.
However, it’s always a good practice to back up your data regularly, regardless of whether you’re unlocking your phone or not.
“Professional Unlocking Services Are Always Expensive”
While some unlocking services can be pricey, the cost varies significantly depending on your phone model and the service provider.
UnlockBase offer competitive prices, and the investment often pays off when you consider the flexibility and potential savings on carrier plans that come with an unlocked phone.
Moreover, some carriers will unlock your phone for free if you meet their requirements.
“I Need Technical Skills to Unlock My Phone”
Modern phone unlocking is much simpler than many people think. When using official carrier unlocking or professional services, the process usually involves simply entering a code or following basic instructions.
You don’t need any technical expertise or special tools. The service provider typically guides you through each step of the process.
Phone Unlocking Myths : The Bottom Line
Phone unlocking has become a standard practice in the mobile industry, but myths and misconceptions continue to create unnecessary fears. The key to successful unlocking is using legitimate services and understanding what unlocking can and cannot do for your device. When done properly, unlocking your phone can give you more freedom in choosing your carrier while keeping your device safe and functional.
Remember, whether you’re traveling abroad, switching carriers, or simply want more flexibility with your device, phone unlocking is a safe and legal option when done through proper channels. Don’t let common myths hold you back from making the most of your mobile device.
All products, and company names, logos, and service marks (collectively the "Trademarks") displayed are registered® and/or unregistered
trademarks™ of their respective owners.
The authors of this web site are not sponsored by or affiliated with any of the third-party trade mark or third-party registered trade mark owners,
and make no representations about them, their owners, their products or services.
iPhone vs Android Unlocking ? Carrier unlocking is a critical process that allows smartphones to work across different mobile networks. While iPhone and Android devices approach this differently, the end goal remains the same: giving users the freedom to choose their preferred carrier.
iPhone Carrier Unlocking
Apple has a standardized, straightforward carrier unlocking process:
Must meet carrier’s requirements (typically contract completion or full device payment)
Can request unlock directly through Apple or the original carrier
Permanent unlock that applies to the device’s IMEI number
Android: Fragmented, manufacturer and carrier-specific methods
iPhone: Generally simpler unlock procedures
Android: More complex but offers more flexibility
iPhone vs Android Unlocking : Legal and Technical Considerations
Carrier unlocking is legal in many countries, including the United States, where the Unlocking Consumer Choice and Wireless Competition Act protects consumer rights. However, specific regulations and processes can vary internationally.
Future of Carrier Unlocking
Emerging trends include:
eSIM technology reducing traditional carrier locks
Increased consumer demand for network flexibility
Growing international roaming requirements
iPhone vs Android Unlocking : Conclusion
The choice between iPhone and Android for carrier unlocking depends on your specific needs, technical comfort, and desired level of flexibility. While iPhones offer a more streamlined process, Android provides more diverse options for the tech-savvy user.
All products, and company names, logos, and service marks (collectively the "Trademarks") displayed are registered® and/or unregistered
trademarks™ of their respective owners.
The authors of this web site are not sponsored by or affiliated with any of the third-party trade mark or third-party registered trade mark owners,
and make no representations about them, their owners, their products or services.
Benefits of Unlocked Phone? Ever felt trapped by your carrier’s high prices and restrictive plans? You’re not alone. More savvy consumers are discovering a money-saving secret: unlocked phones. Let’s dive into why these freedom-enabling devices could be your ticket to significant savings and greater flexibility.
What Exactly is an Unlocked Phone?
Think of an unlocked phone as a “carrier-independent” device. Unlike carrier-locked phones, these devices aren’t tied to a specific network provider. It’s like having a universal key that works with any carrier’s door – just pop in a SIM card, and you’re good to go.
Breaking Down the Financial Benefits
The most immediate advantage of an unlocked phone is the freedom to choose your carrier and plan. Gone are the days of being locked into expensive contracts or dealing with carriers who know you can’t leave. With an unlocked phone, you can switch providers whenever you find a better deal, potentially saving $15-30 every month on your plan.
International travelers stand to gain even more. Instead of paying excessive roaming charges, you can simply purchase a local SIM card at your destination. This simple switch can reduce your travel communication costs by up to 90%. Imagine exploring Paris or Tokyo while paying local rates instead of premium international fees.
Another often-overlooked benefit is the higher resale value. When it’s time to upgrade, unlocked phones typically command 20-30% more on the resale market. This higher value comes from the simple fact that these phones can work with any carrier, opening up a much larger pool of potential buyers.
The Hidden Cost Savings
Perhaps one of the most significant advantages is avoiding carrier financing markup. When you buy an unlocked phone outright, you’re paying the true cost of the device without hidden fees or interest charges. While the upfront cost might seem higher, you’re actually saving money in the long run by avoiding these additional charges.
The Long-Term Financial Impact
When we look at the big picture, switching to an unlocked phone can save you a significant amount of money. Monthly plan savings add up to hundreds of dollars per year. International travelers can save $50-100 per trip. The higher resale value puts an extra $100-200 in your pocket when it’s time to upgrade. Add in the savings from avoiding financing charges, and you’re looking at a total benefit of $500-1000 over the life of your device.
Is an Unlocked Phone Right for You?
An unlocked phone makes perfect sense if you’re looking to maximize your mobile budget and value flexibility. It’s especially beneficial for international travelers, frequent upgraders, and anyone who likes to shop around for the best mobile plans.
The initial investment might be higher, but the freedom and long-term savings make it a smart financial decision.
Benefits of Unlocked Phone : Steps to Remove your SIM lock
Once you receive your unlock code from UnlockBase:
Power off your device
Remove your SIM card
Insert a SIM card from a different carrier
Power on your device
When prompted, enter the unlock code provided by UnlockBase
Wait for confirmation that the unlock was successful
Benefits of Unlocked Phone : The Bottom Line
Unlocked phones aren’t just about freedom – they’re about making smart financial decisions. The ability to choose your carrier, avoid unnecessary fees, and maximize resale value makes unlocked phones a powerful tool for the budget-conscious consumer. While the upfront cost might be higher, the long-term savings and flexibility make it a worthy investment that keeps paying dividends.
All products, and company names, logos, and service marks (collectively the "Trademarks") displayed are registered® and/or unregistered
trademarks™ of their respective owners.
The authors of this web site are not sponsored by or affiliated with any of the third-party trade mark or third-party registered trade mark owners,
and make no representations about them, their owners, their products or services.
Perfect Time to Unlock Your Phone? Planning your dream holiday getaway? Before you start packing those suitcases, let’s talk about something crucial that many travelers overlook – unlocking your smartphone. As the holiday season approaches, timing becomes critical for ensuring your communication needs are seamlessly met during your travels.
Perfect Time to Unlock Your Phone : Why Timing Is Everything
The holiday rush affects everything, including phone unlocking services. Processing times often double during peak travel seasons, and the last thing you want is to be stuck with a locked phone when you’re about to board your flight.
By unlocking your phone ahead of time, you’re not just avoiding stress – you’re also positioning yourself to catch seasonal unlocking deals that many services offer during the holiday period.
The Hidden Costs of Traveling with a Locked Phone
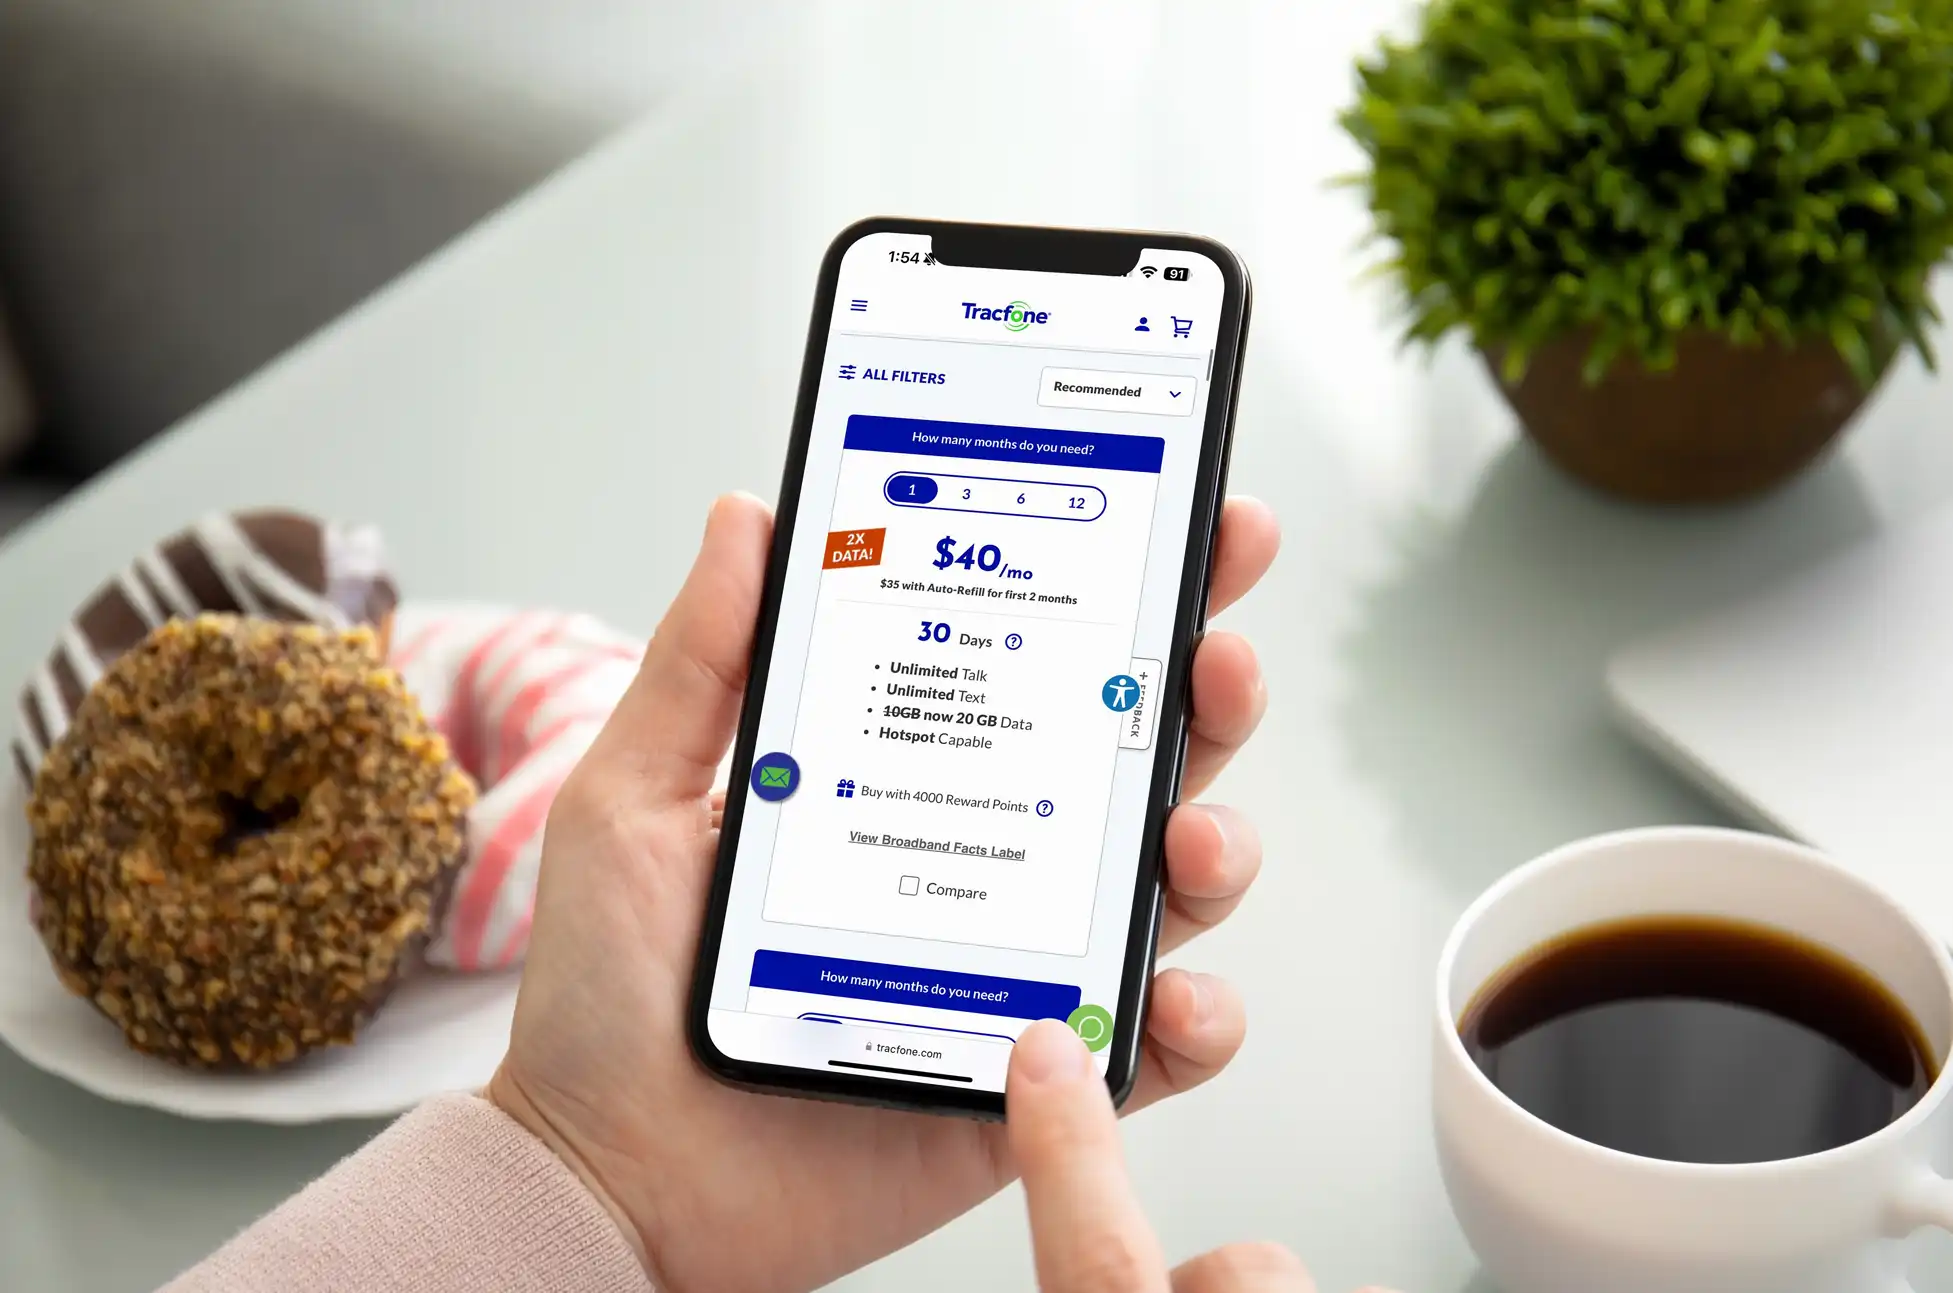
What many travelers don’t realize is how quickly phone expenses can add up when traveling internationally with a locked device. International phone plans typically charge anywhere from $10-15 per day, and that’s just for basic service.
Add in data packages, emergency calls, and text messages, and a two-week vacation could easily cost you upwards of $360 just for phone service. Compare this to using an unlocked phone with a local SIM card, where your total expenses might only reach $130, including the one-time unlocking fee. That’s a potential saving of nearly $230 – money better spent on holiday experiences.
Perfect Time to Unlock Your Phone : Guide to Unlocking Your Phone for Holiday Travel
The unlocking process is simpler than many think. First, verify whether your phone is eligible for unlocking – this typically means your device is fully paid off and your contract obligations are complete. Most carriers require that your account is in good standing and the device hasn’t been reported lost or stolen.
Simply contact your carrier directly or visit their website and request an unlock. Major carriers like AT&T, Verizon, and T-Mobile all have dedicated unlocking portals. If your device is eligible,
But if not, Dont worry UnlockBase Got you Covered!
Confirm your payment and wait for an email confirmation.
Insert an unauthorized Sim Card and turn ON your phone.
When the device asks for the code, enter the code which is provided by unlockbase
Enter Unlock Code.
Beyond Basic Communication
Travel today isn’t just about making calls or sending texts. It’s about sharing experiences in real-time, staying safe with reliable access to maps and emergency services, and maintaining the flexibility to change plans on the fly. An unlocked phone puts all these capabilities at your fingertips without the constant worry about excessive charges or limited service.
Creating Lasting Memories
Holiday travel is about making memories and sharing experiences with loved ones, whether they’re traveling with you or waiting back home. With an unlocked phone, you can spontaneously share your adventures through video calls, photos, and messages without constantly watching the clock or counting megabytes. This freedom to connect adds an extra layer of joy to your holiday experience.
Perfect Time to Unlock Your Phone : The True Spirit of Holiday Travel
The essence of holiday travel lies in the freedom to explore, discover, and connect. A locked phone acts as an invisible leash, limiting your ability to truly immerse yourself in the travel experience. By unlocking your phone before the holiday season, you’re not just saving money – you’re investing in the quality of your travel experience.
All products, and company names, logos, and service marks (collectively the "Trademarks") displayed are registered® and/or unregistered
trademarks™ of their respective owners.
The authors of this web site are not sponsored by or affiliated with any of the third-party trade mark or third-party registered trade mark owners,
and make no representations about them, their owners, their products or services.
ASelling Tips for iPhone? Are you eyeing the shiny new iPhone 16 but still holding onto your trusty iPhone 15 or an even older model? You’re not alone! Many tech enthusiasts find themselves in this exciting yet slightly daunting position. But fear not – we’ve got you covered with some savvy tips to help you sell your current iPhone like a pro and make that upgrade a reality!
Selling Tips for iPhone : Unlock Your iPhone for a Bigger Payday
Did you know that unlocking your iPhone can significantly boost its resale value? It’s true! An unlocked iPhone gives potential buyers the freedom to use any carrier they want, making your device much more appealing in the second-hand market. Here’s why it’s a game-changer:
Wider audience: Attract buyers from different networks
Higher demand: Unlocked phones are often more sought-after
Better prices: You can typically ask for more money for an unlocked device
To unlock your iPhone, contact your current carrier or use Unlockbase Unlocking services. It’s a small step that can lead to a nice bump in your selling price!
Each option has its pros and cons, so pick the one that aligns with your preferences and selling goals.
Selling Tips for iPhone : Create an Appealing Listing
If you’re selling online, make your listing stand out:
Take clear, well-lit photos from multiple angles
Write a detailed, honest description
Highlight key features and the unlocked status
Mention any warranties or AppleCare+ if still active
A great listing can attract more potential buyers and help you sell your iPhone faster.
By following these tips, you’ll be well on your way to selling your iPhone 15 or older model successfully. Not only will you likely get a better price, but you’ll also ensure a smooth trans
All products, and company names, logos, and service marks (collectively the "Trademarks") displayed are registered® and/or unregistered
trademarks™ of their respective owners.
The authors of this web site are not sponsored by or affiliated with any of the third-party trade mark or third-party registered trade mark owners,
and make no representations about them, their owners, their products or services.